Cereals
Cereals, such as wheat, barley, oats and rye are staple crops commonly grown in the UK that go into making a wide array of products, including:
- Bread
- Breakfast cereals
- Pasta
- Biscuits, cakes and other baked goods
In this area, you will find activities and resources about grains, baking bread and grain science for pupils aged 7 to 16 years.

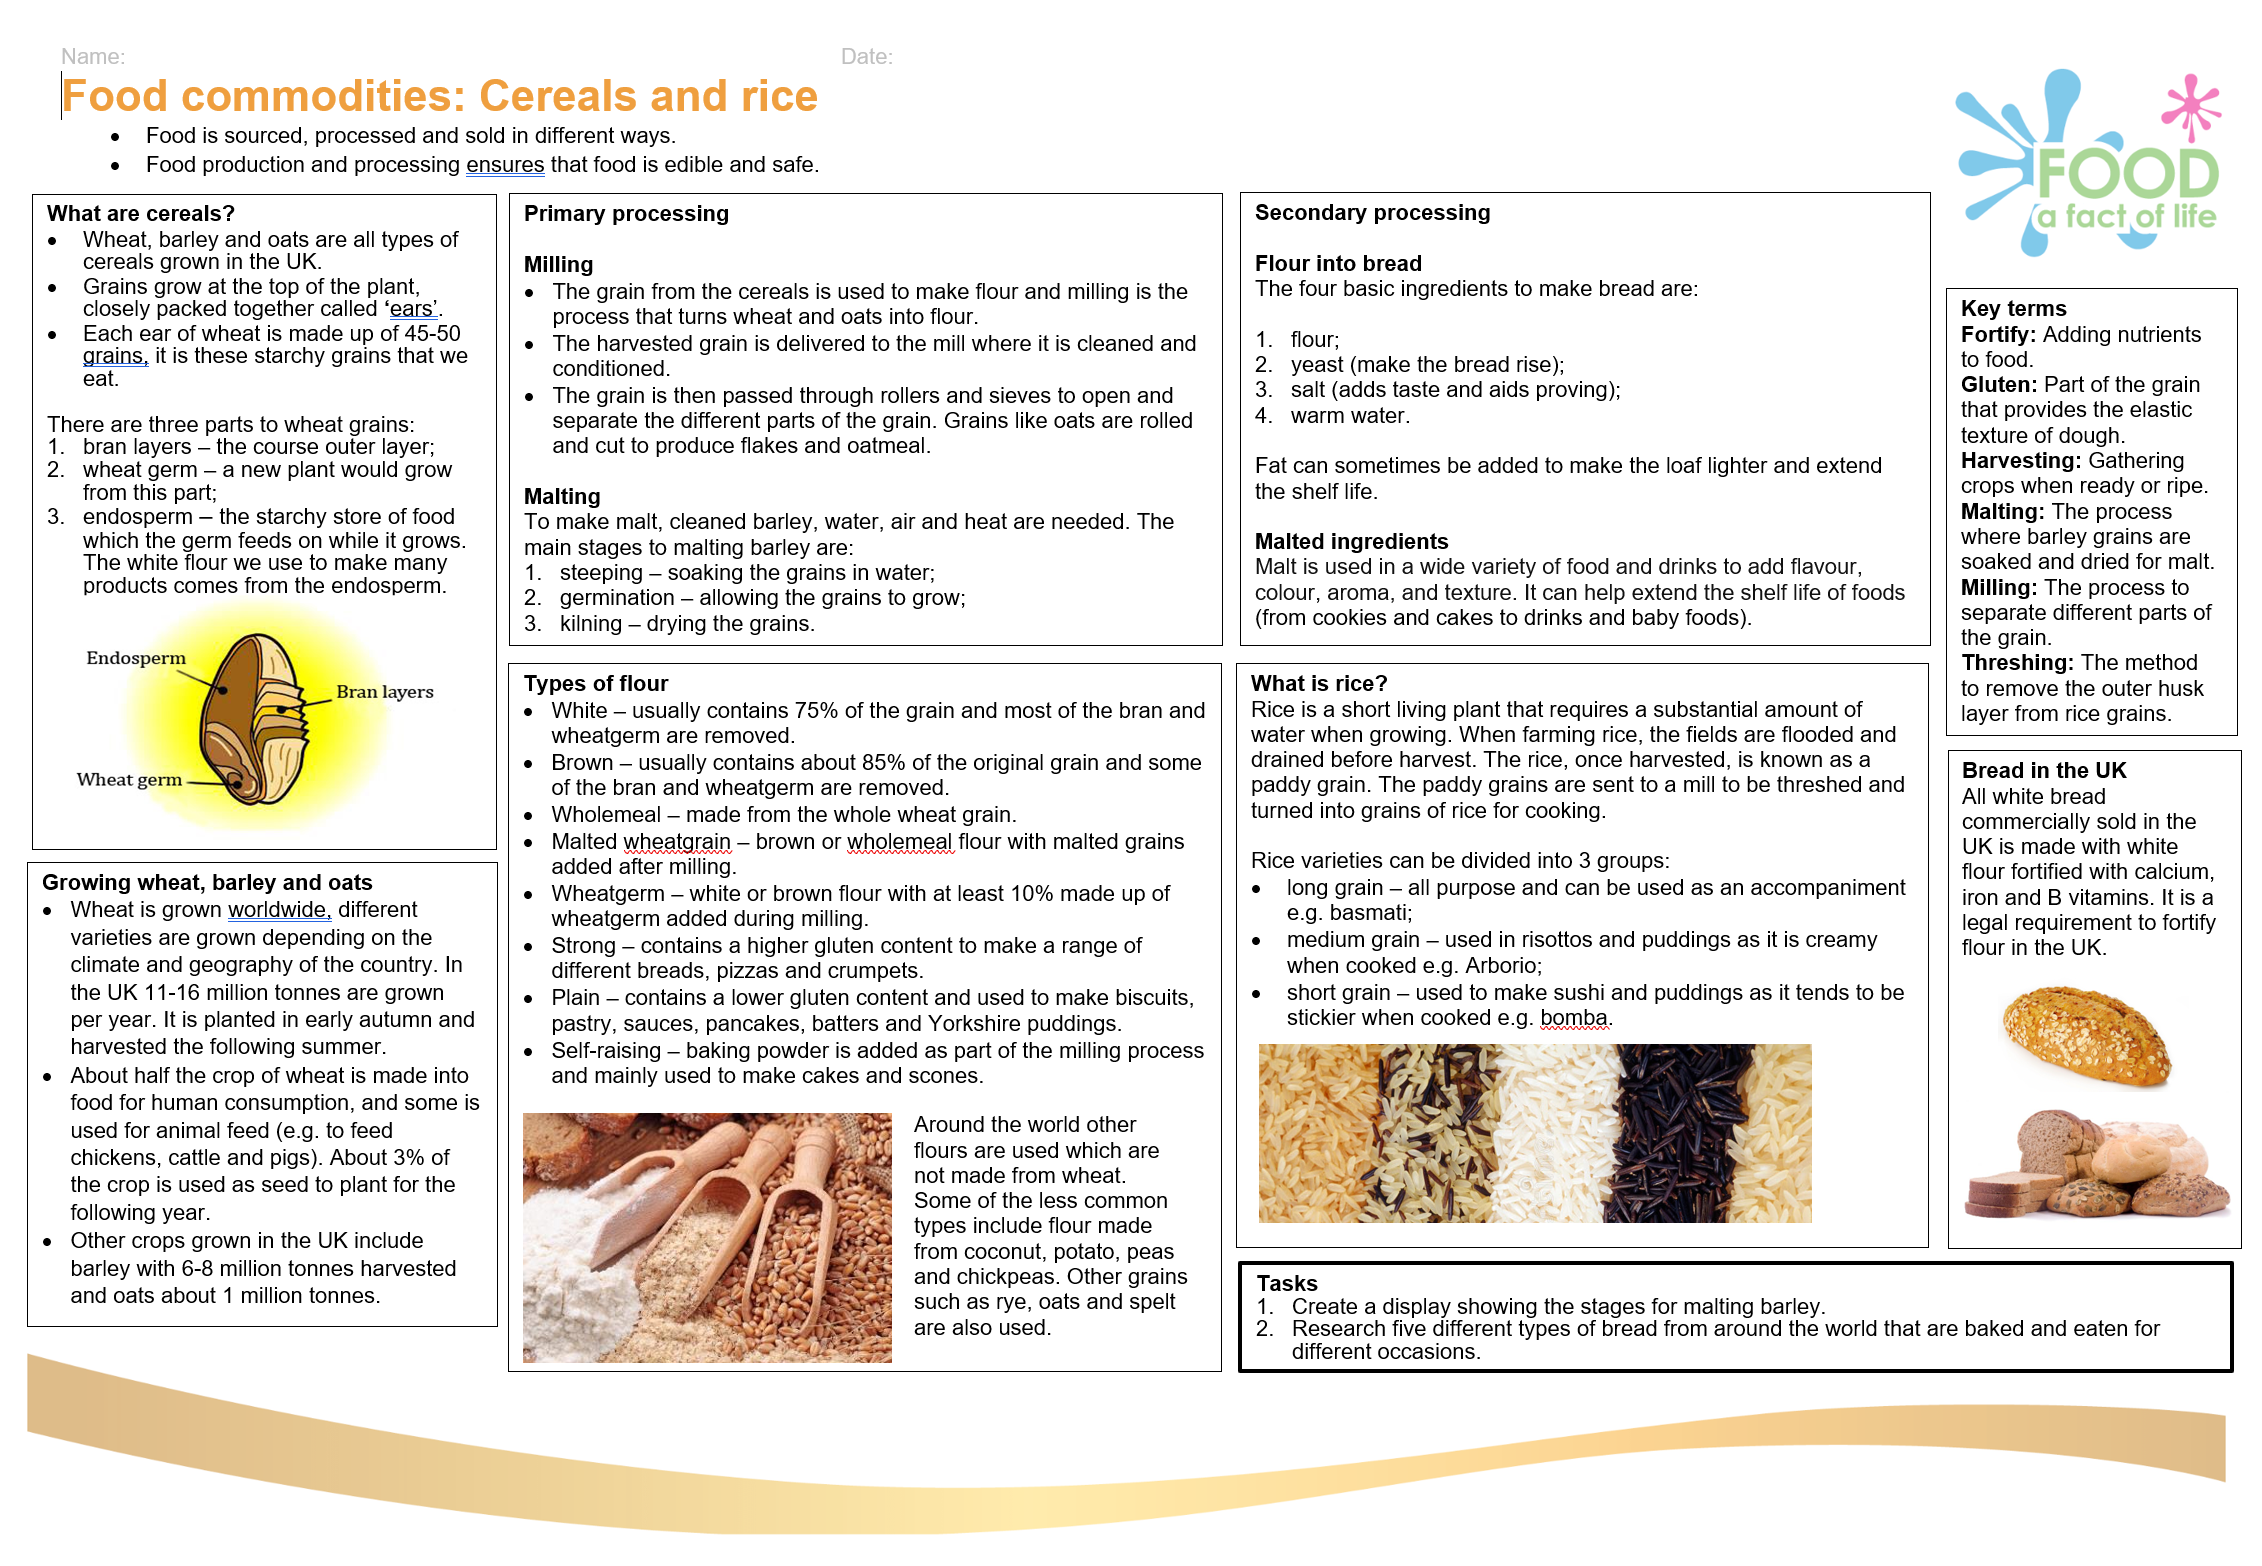
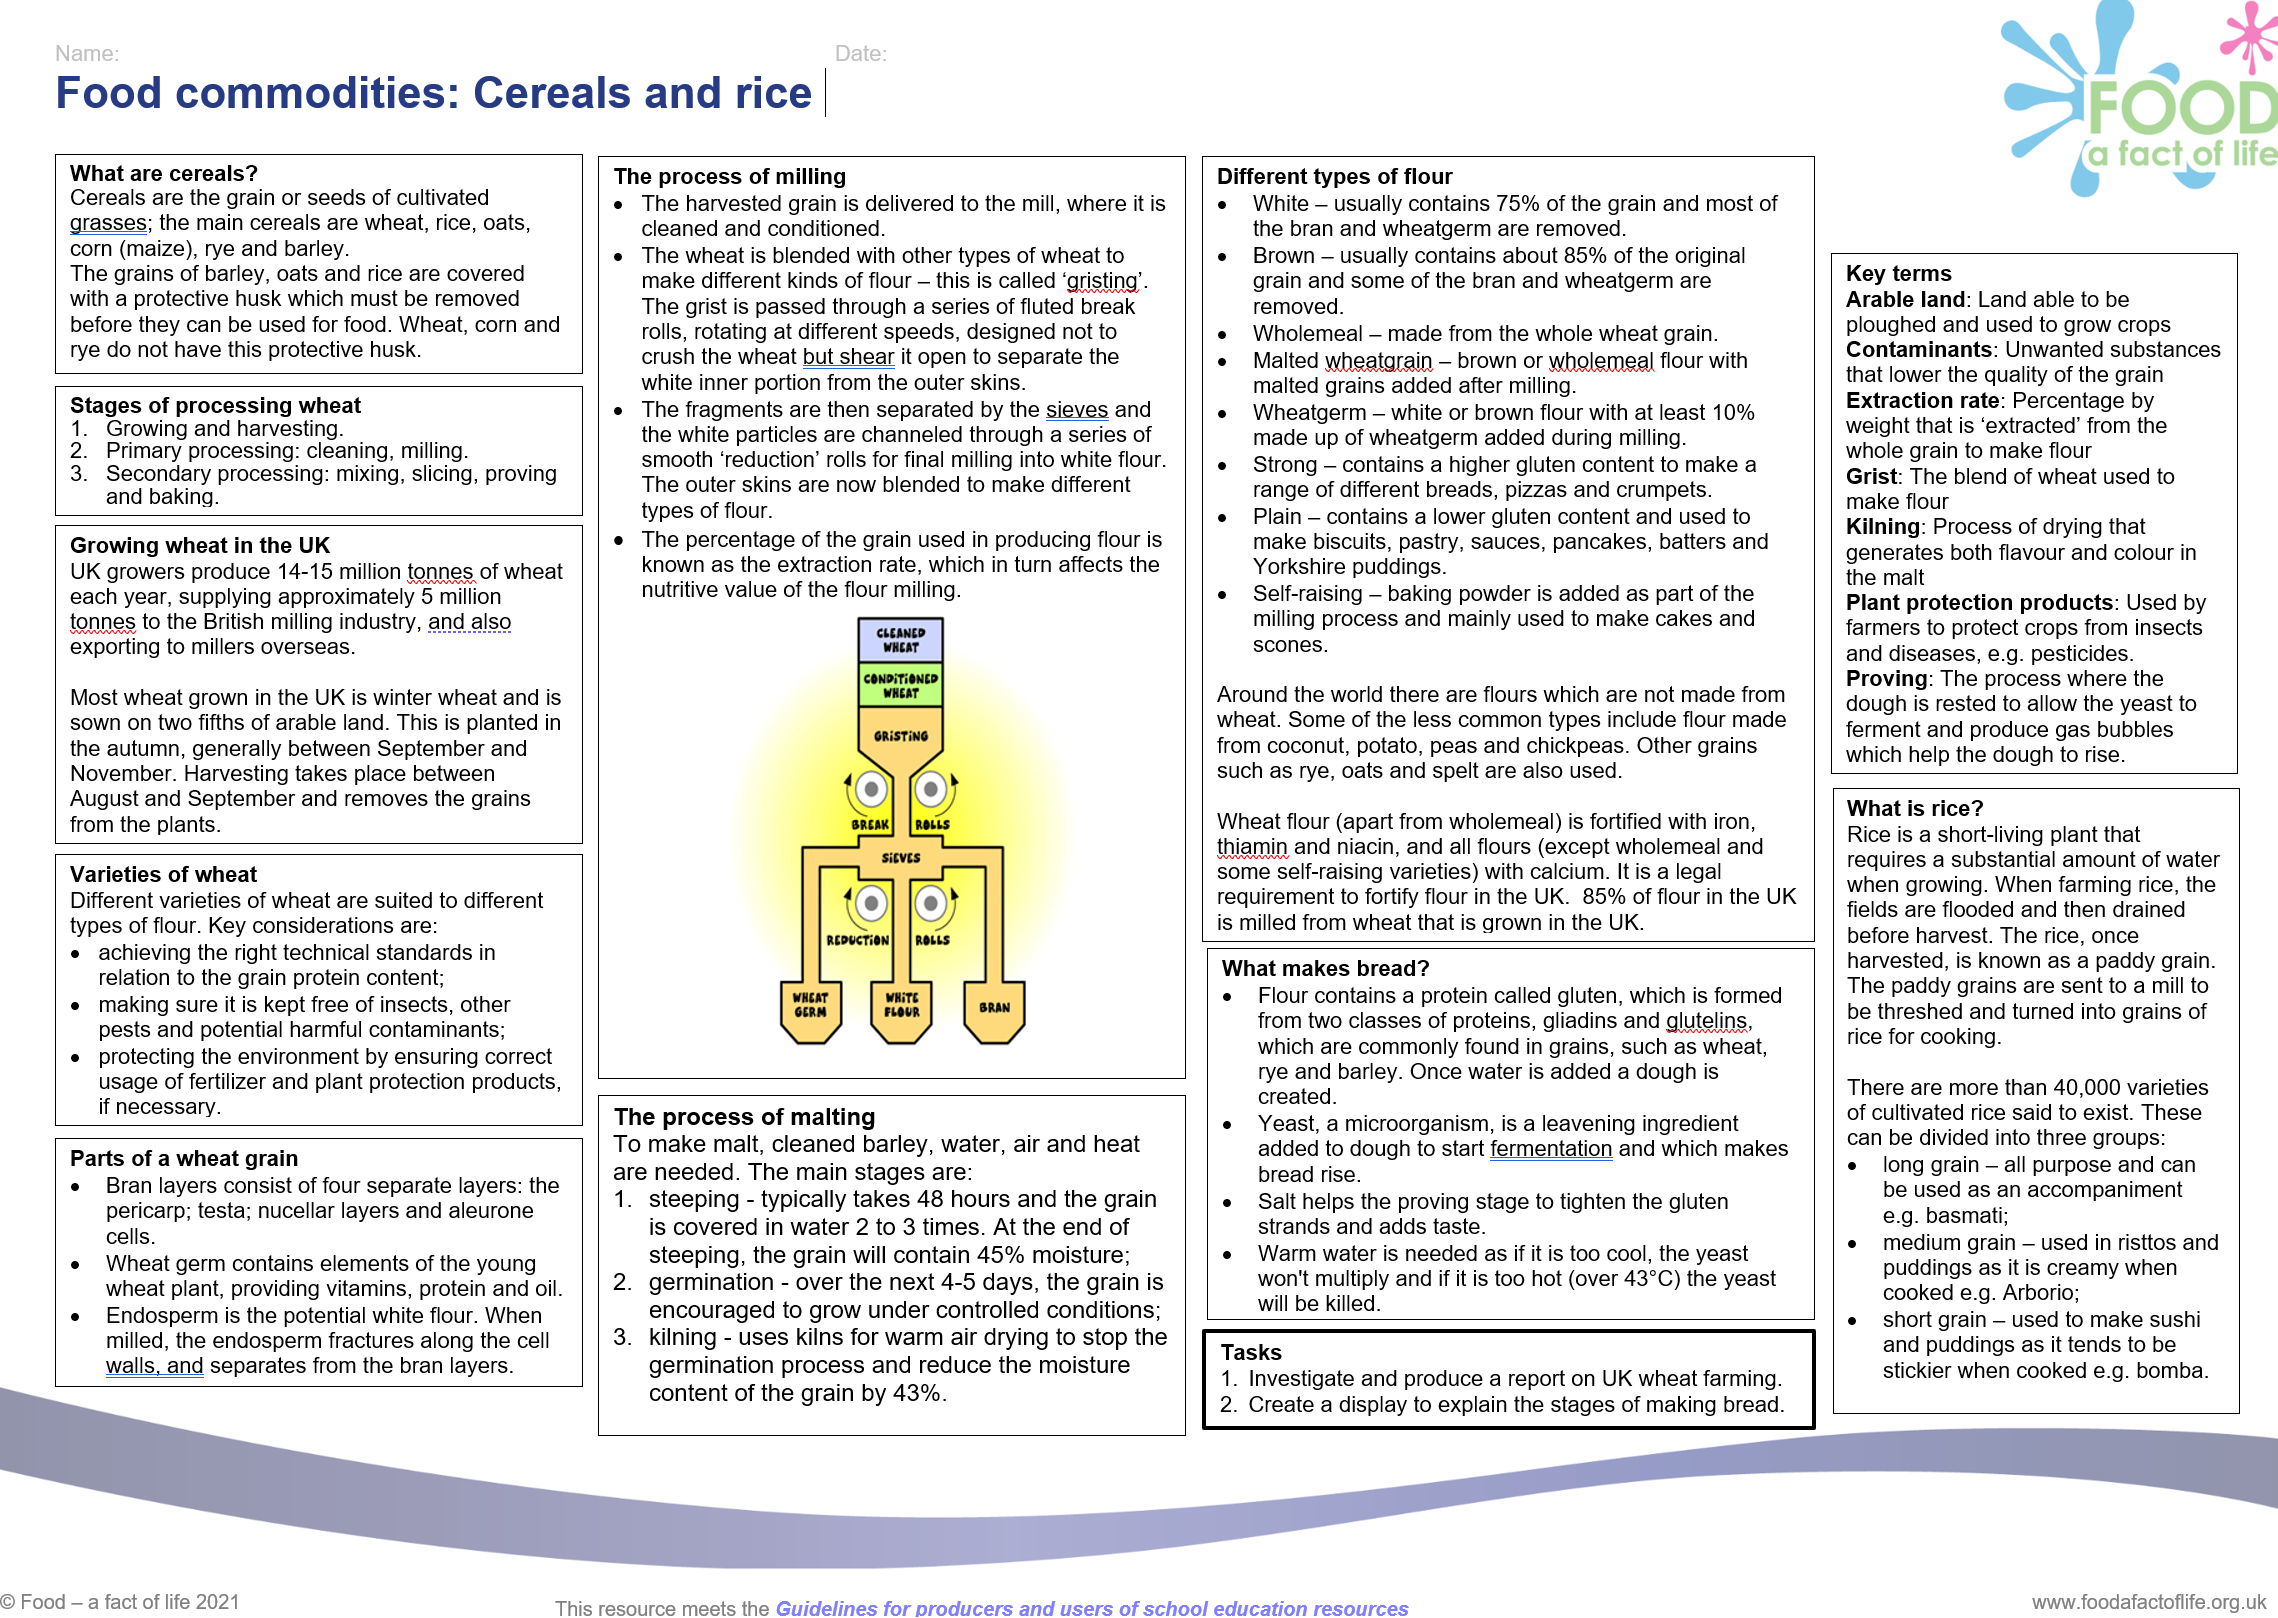
Knowledge Organisers for cereals
These Knowledge Organisers provide the 'need to know' for your pupils on the topic of cereals!
Food commodities for 3-5 years
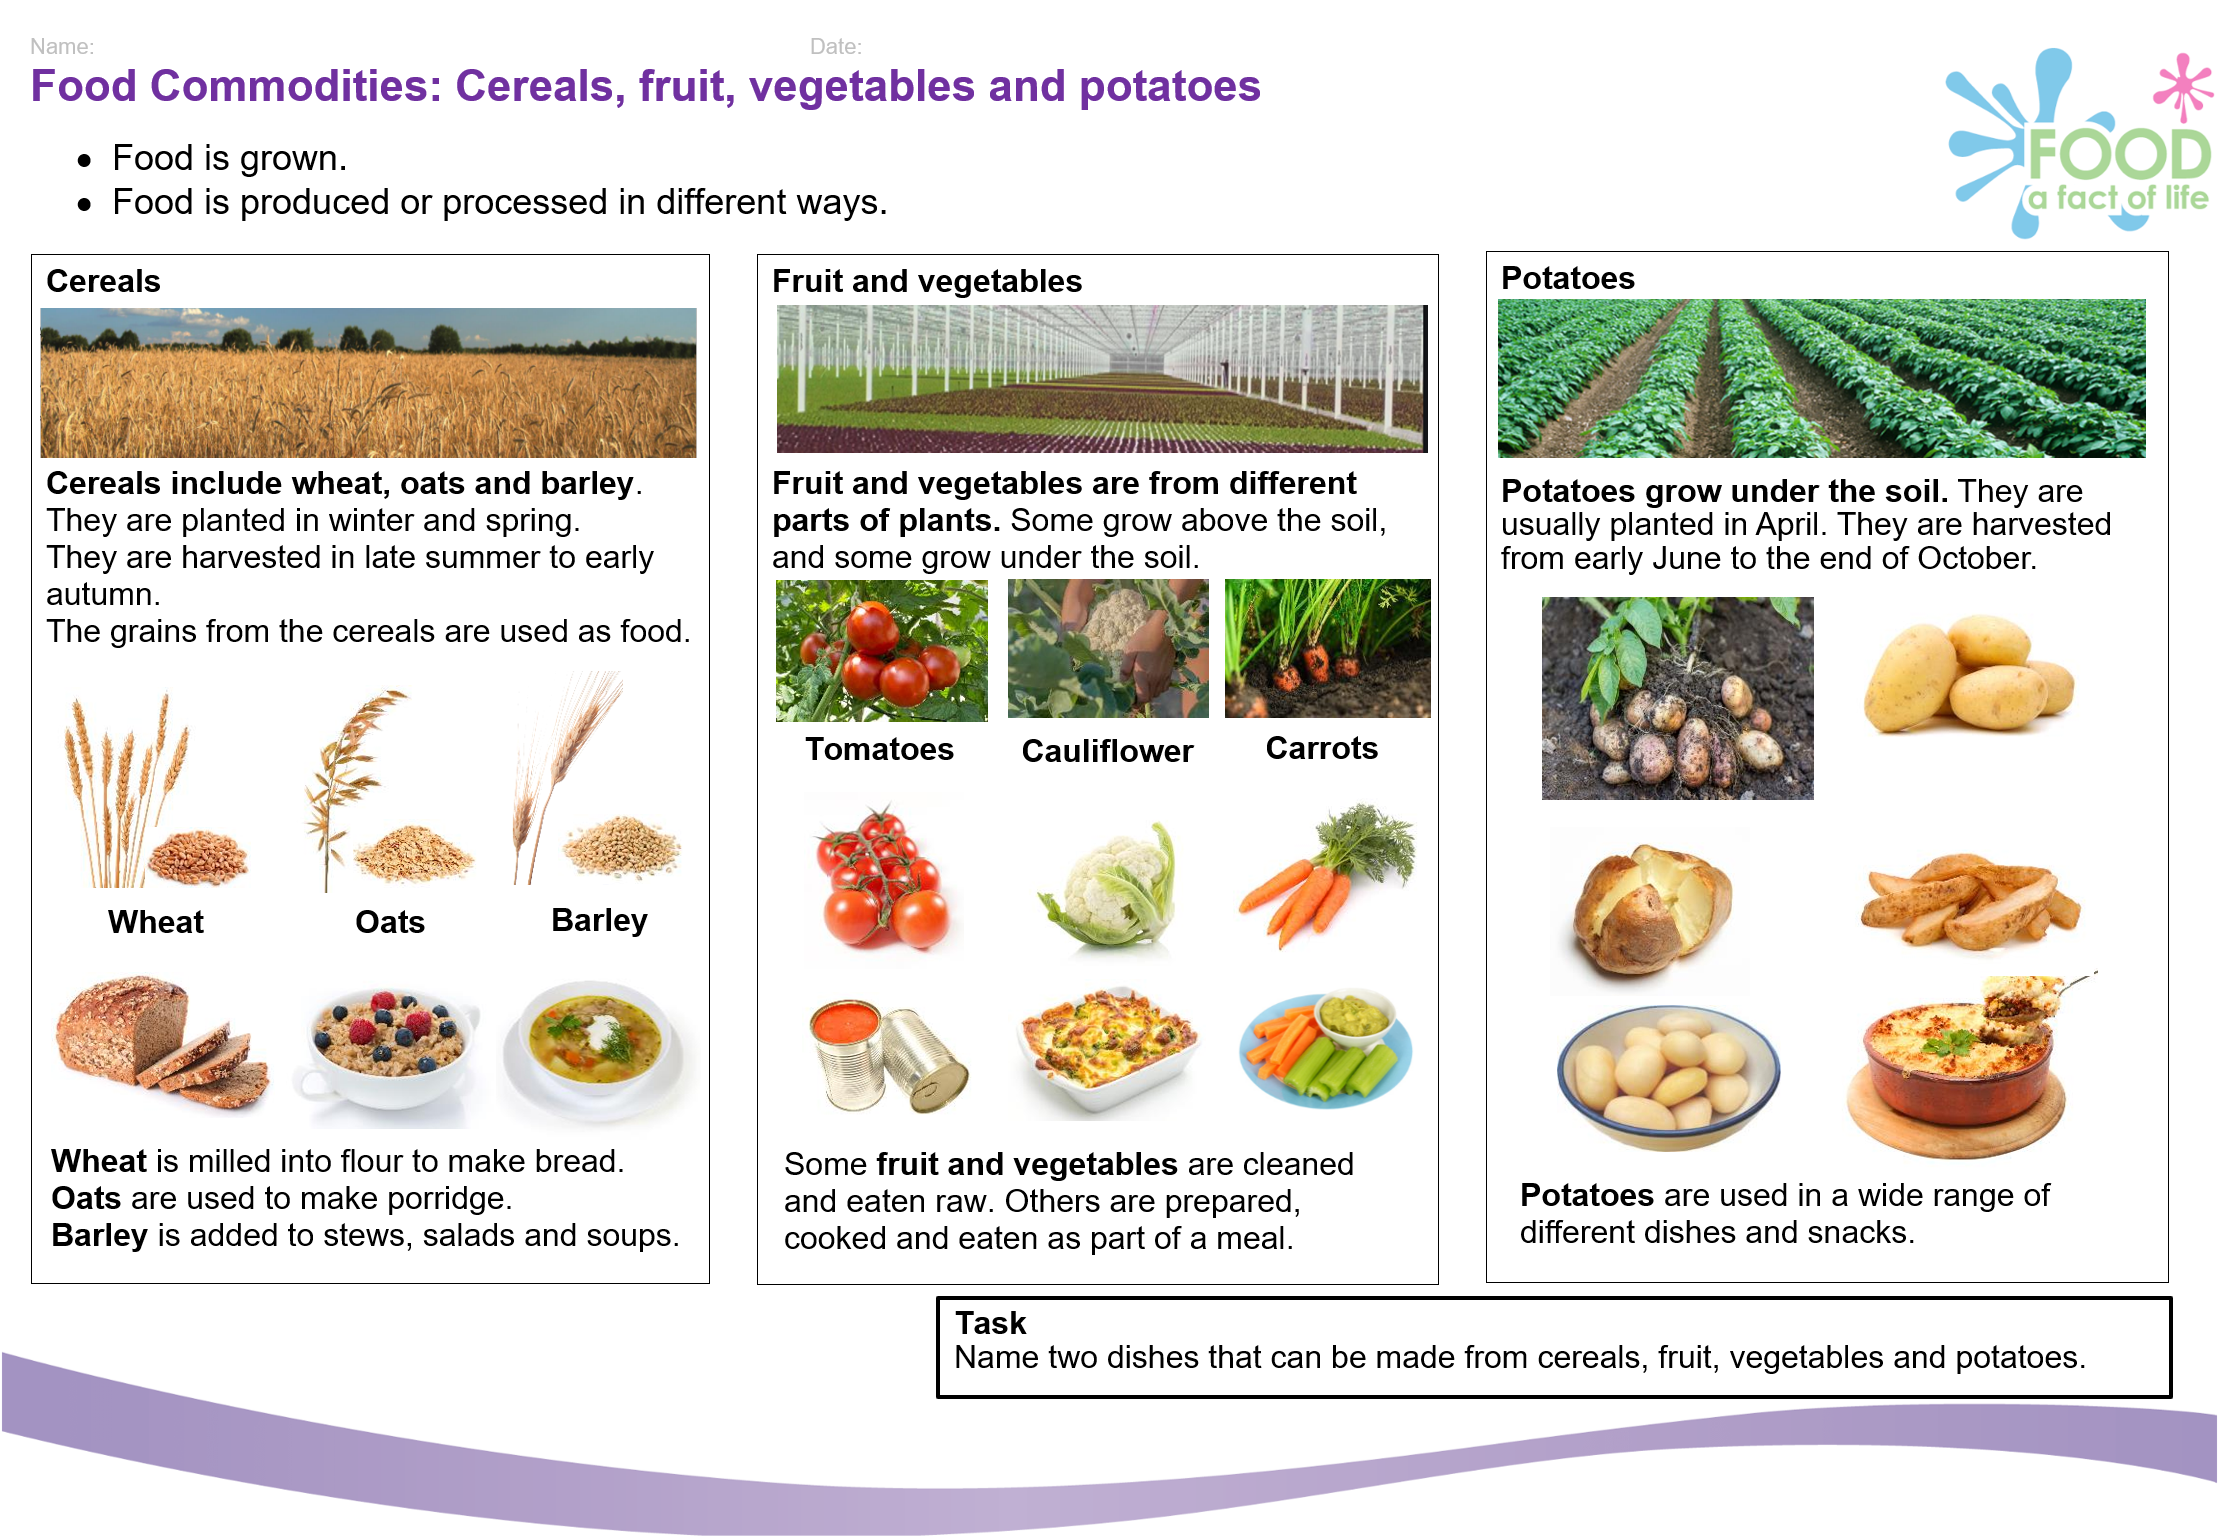
The resources below will help to introduce children to different food commodities (ingredients). There are three sets of resources to support food as a context of learning.
- Food journey cards: photo cards showing the journey of different foods from field/farm to fork. These could be used as a display, a sorting game (putting the stages in the correct order), highlighting how ingredients are prepared for us to eat, and the use of ingredients in different meals.
- Dot-to-dot sheets: a fun activity of joining the dots! However, they can also be used as a discovery session to see if children can name the food, as well as discuss different appearances, odours, tastes and textures.
- Counting: simple worksheet about counting different types of food commodities, useful for maths.

Cereals for 5-7 years
There are four key activities around cereals - from field to fork.
Activity 1 - Name some grains and food that they can be used to make
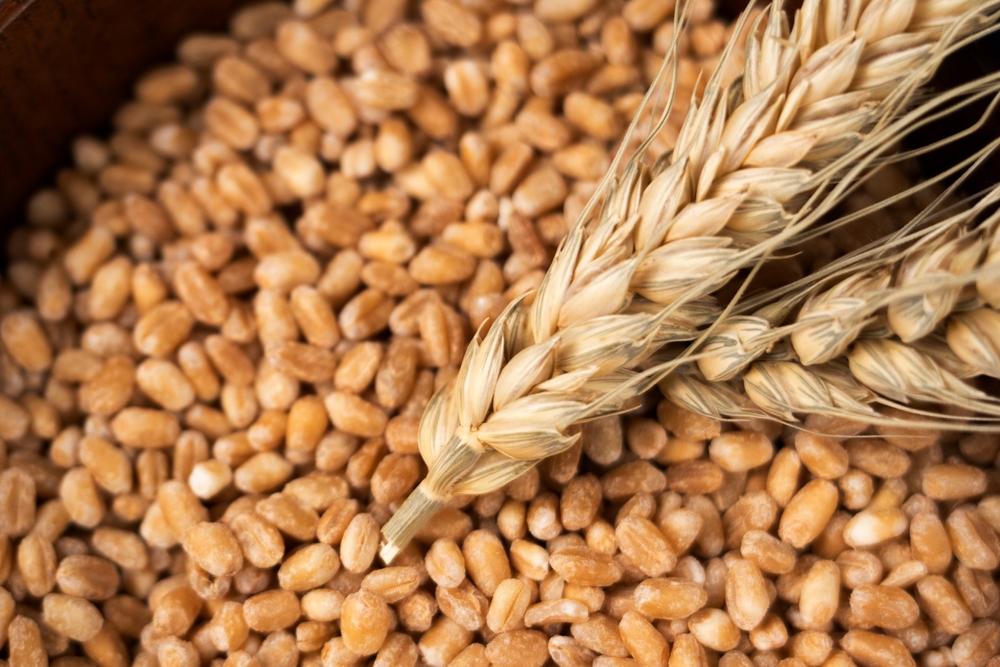
Show the children some samples of grain (e.g. wheat, barley, oats). If you do not have these, you can use the Grain presentation. Talk about the grains.
Question the children:
- What are these?
- Are they the same?
- What is each one called?
Explain that each of these is a grain from different types of grass. Tell the children what each one is called and talk about how it can be used in different meals or to make different foods.

- Wheat – makes flour which can be used to make foods like bread, pancakes and scones.
- Oats – can be used to make porridge, oatcakes or muesli.
- Barley – can be added to stews, salads and soups and helps to make them more filling.
Activity ideas
- If samples of the grains are available, observe, draw and label each grain and a food it can be used to make.
- Display a selection of flour based products (or product packaging) around the room, e.g. bread (several varieties), scones, crumpets, pancakes, crackers. Task the children to choose three they enjoy eating and sketch and label these.
Round up
Recap the learning by questioning the children:
- What types of grain can you name?
- What foods can be made with each of these grains?
- What is made from wheat? (Flour)
- What is your favourite food made from flour?
Extension ideas
Task the children to look for foods at home which are made with wheat (e.g. breakfast cereals) and with wheat flour. They could list or sketch the foods or bring in the packaging for display. (Check the packaging is clean, safe and suitable for the classroom.)
Activity 2 - State what a plant (wheat) needs in order to grow.
Before the session you might find it useful to read the Wheat to bread information sheet. This describes the parts of a grain of wheat, how wheat is grown and how it is milled. Show the image of the wheat grains from the Grain presentation (or real samples if available).
Question the children:
- What is this grain called? (Wheat.)
- Where is it found on the plant? (In the ‘ear’.)
- How is it made in to flour? (Crushed and sieved several times. See the Wheat to bread information sheet for more detail.)

Activity ideas
- Allow the children to grow their own wheat. Instructions can be found on the How to grow wheat sheet. Over the coming weeks, they can monitor how their wheat grows by measuring and photographing their seeds and recording this on the Wheat growing record sheet
- Draw or write the steps they have taken to grow their own wheat.
Round up
Recap the learning by questioning the children:
- What does a plant need in order to grow and be healthy?
- What does a farmer do each season when growing wheat?
- What have you done to grow your own wheat?
Extension ideas
You could try growing batches of wheat seeds in different conditions to see which grow best, e.g. in the dark, without water, in a cold place.
Activity 3 - Explain the stages from seed to bread.
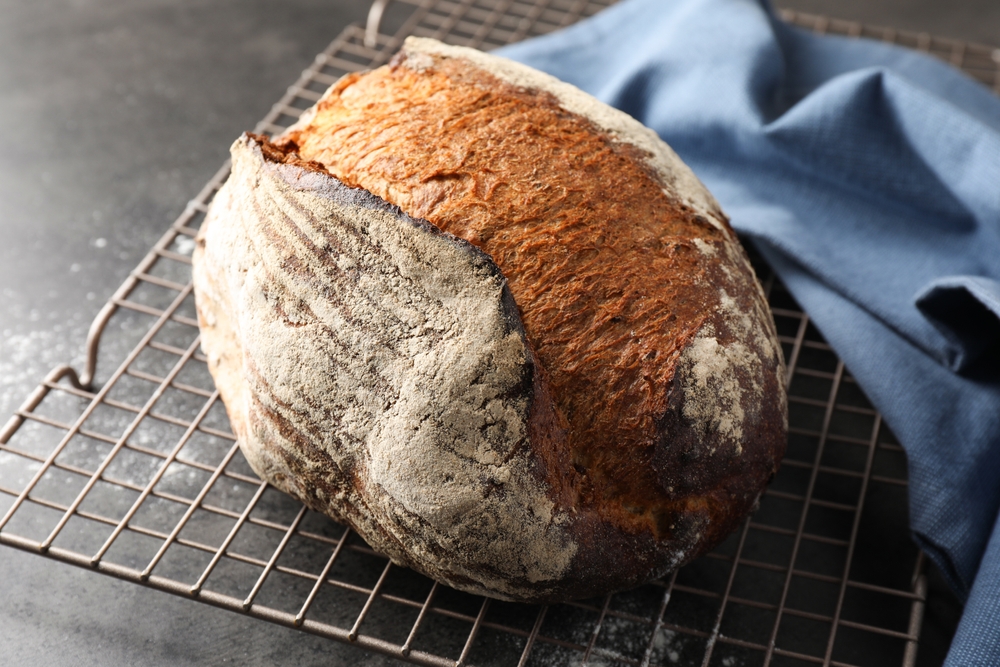
Show the children a loaf of bread. Ask them to explain where it comes from. Ask them to think back as far as the seed which became the wheat plant. (If you undertook Activity 2, the children should remember planting their own wheat seed. If not, you may wish to draw on some of the content from that lesson.)
Use the Where does bread come from? presentation to go through the stages from seed to bread with the children.

Activity ideas
- Task the children to cut out the Seed to bread images and the labels on the sheet. Match the labels and images and place them in the correct order and stick them in their workbooks. If they are able, the children could write a few words under each image to explain what is happening.
- Write a story from the point of view of the seed explaining how it became a loaf of bread.
- If you have some real grain, you could let the children have a go at trying to crush this with a pestle and mortar (it’s very hard to crush by hand!).
Round up
- Ask some of the children to share their work.
- Recap the seeds journey to becoming a loaf of bread.
Extension ideas
Watch the GrainChain video on how wheat is milled into flour.
Activity 4 - Name foods made from flour, including different types of bread.
Ask the children to name as many foods as they can which are made from flour. Ask them what food made from flour they ate most recently. Show the children the Flour foods presentation. Ask them to say which foods are made from flour and which are not.
Activity
This activity involves tasting. Before the lesson, check if there are any allergies, intolerances, religious or cultural reasons why the children cannot eat or have contact with any foods you are sampling. If there is not already a record of this in school, you may wish to send home the Ingredient checking letter and ask parents/carers to complete this.

Provide a selection (4-6 types) of bread and other products made from flour (you could use the foods made from flour from the PowerPoint). Refer to the Tasting guide for support setting up and running a tasting session.
Explain to the children that they will be tasting the foods and describing what they are like. Provide each child with a copy of the My tasting journal. Talk through the booklet with the children and discuss how to try foods.
Watch the Bread made in a bakery video. Discuss what is happening.
Round up
- Recap the learning by questioning the children:
- Can you name five foods made from flour?
- Can you describe how bread tastes?
- Can you explain how bread is made in a bakery?
Extension ideas
- Task the children to keep a record of all the flour-based products or types of bread they eat in a week.
- Create and carryout a survey to find out what is the most popular flour-based product in your class.
Cereals resources for 5-7 years
Cereals for 7-11 years
There are two key activities around cereals - from field to fork.
Activity 1 - What happens in the growing year?
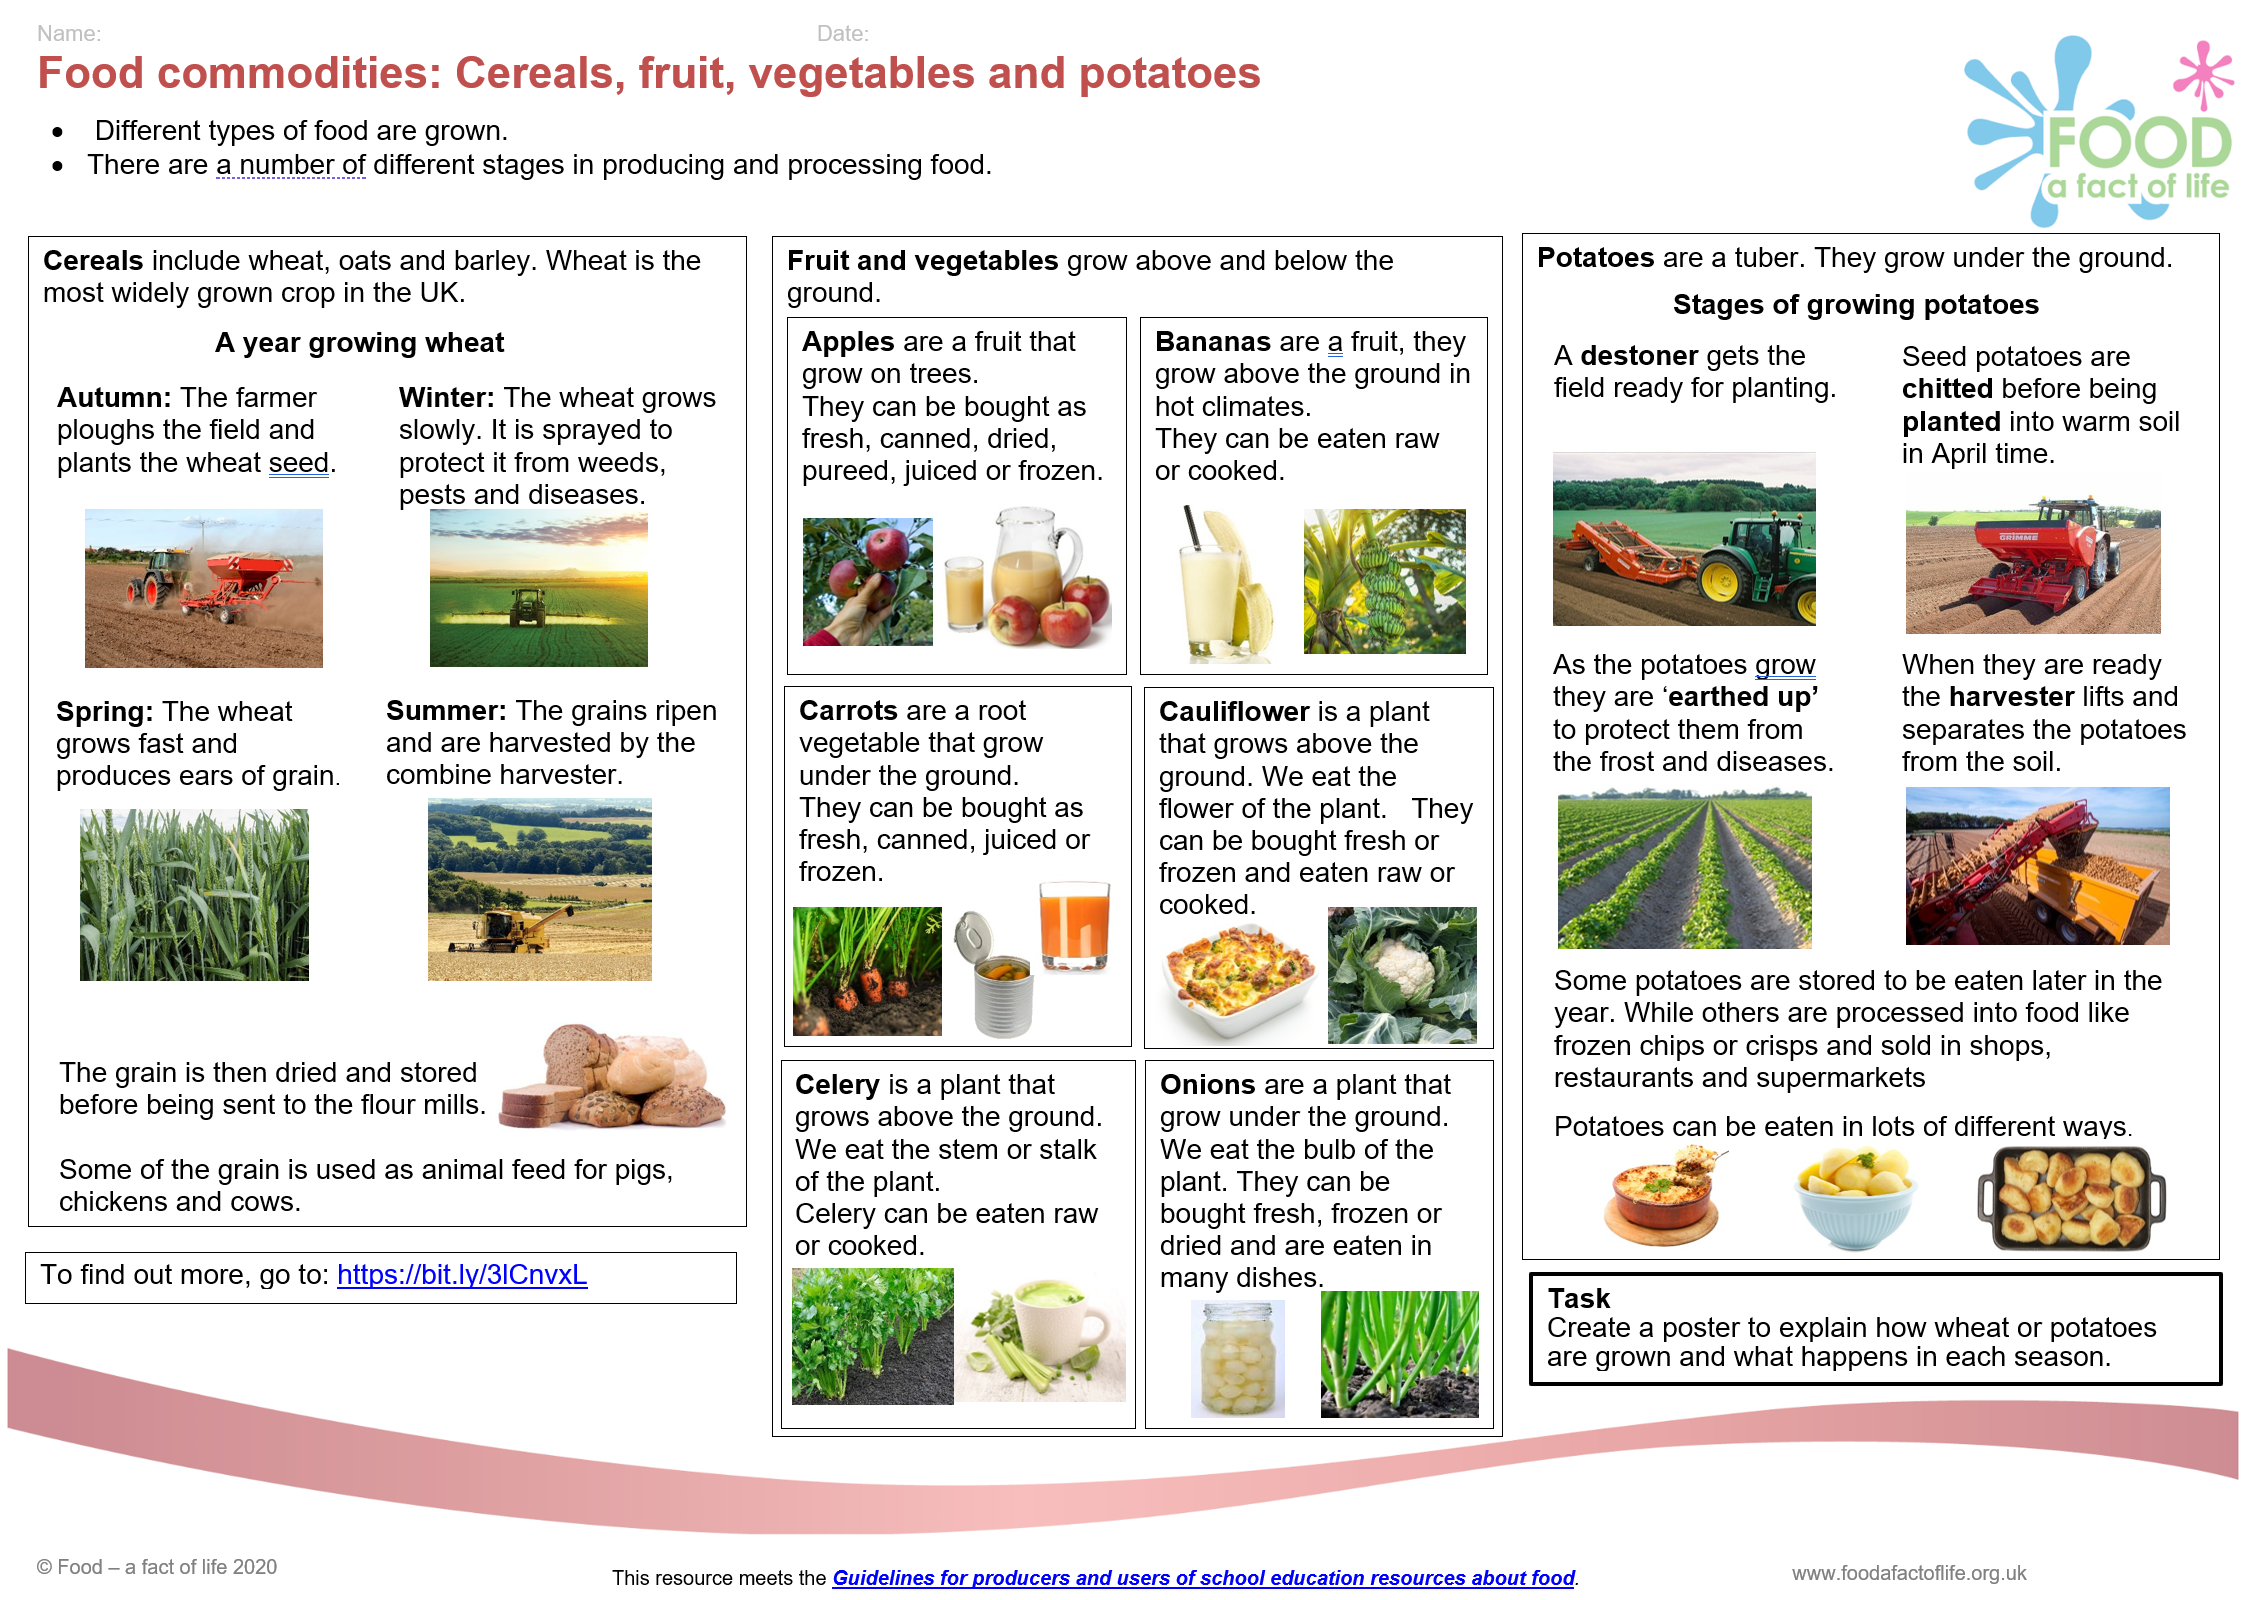
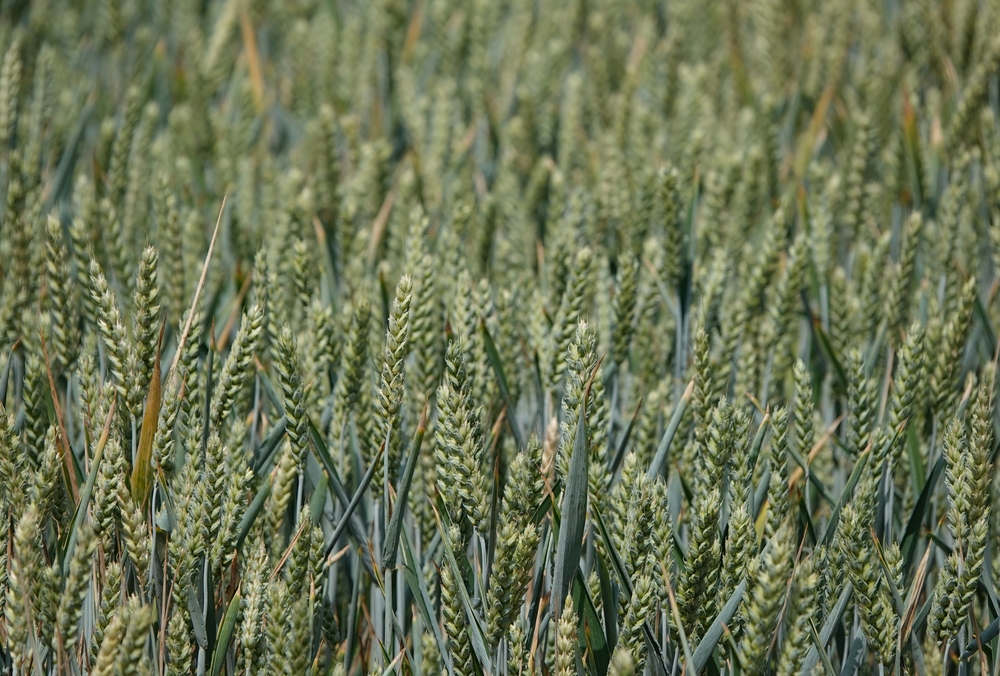
This activity is about the stages involved in producing different flour. Before the lesson, you may find it useful to read the Wheat to bread information sheets for background information. Explain to the children that they will be learning about wheat. Show them the photograph of the wheat from the Cereal images or an actual ear of wheat.
Question the children:
- What does the wheat look like?
- Where is the grain?
- How does it grow (on a plant, a tree, the ground, in a bunch, individual stalks)?
- What do you know about wheat?

Explain that wheat is the most widely grown cereal crop in the UK. Cereals are grasses that produce grains that we can eat. There are several different types of cereal, e.g. wheat, oats, barley, rice, maize and rye. Show children these on the Cereal images. Some of the cereal crops are also used to feed animals, including pigs, chickens and cows, which provide us with meat, eggs and milk.
Ask the children to spend a minute talking to the person next to them about how they think wheat is grown. You could note the following questions on the board for them to consider:
- When do you think wheat is planted?
- How long do you think it takes to grow?
- What do you think wheat needs to grow well?
- How do you think wheat is harvested?
Ask the children to share their thoughts about what is involved in the process and how long it takes.
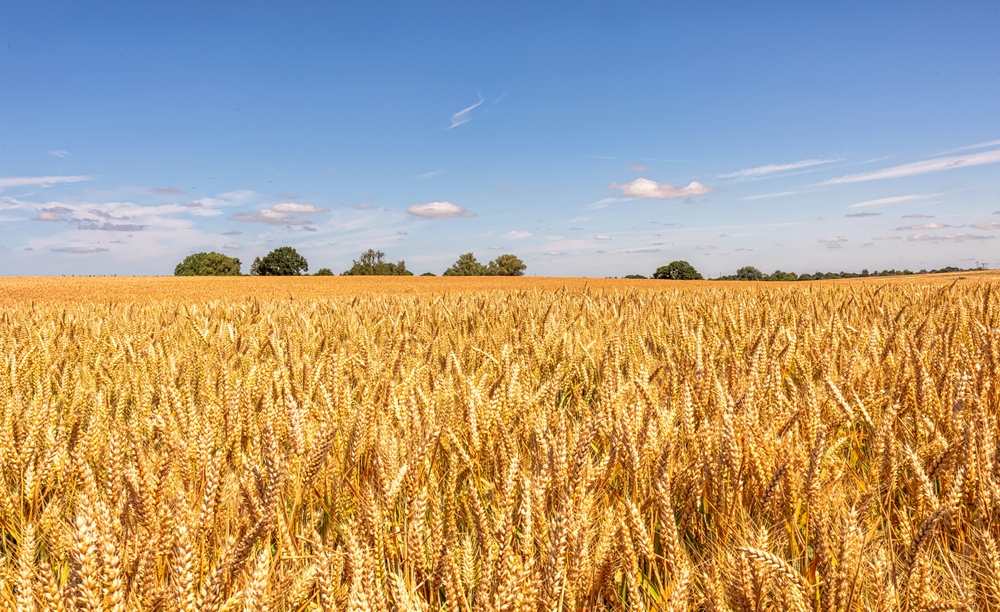
Use The growing year presentation to revise the process and the key events in each season. Use the information on the UK wheat production sheets to broadly talk about regions in the UK where wheat is grown. You may wish to refer to a UK map to show the places (e.g. cities and towns) that can be found in each region.
Activity ideas
- Provide children with the UK wheat production sheets and let them complete the activity.
- Task the children to create a poster to explain how wheat is grown and what happens in each season.
- Conduct a wheat growing experiment in the classroom, providing different conditions for the wheat, to find out how wheat grows best. (Refer to the 5-7 years resources, Activity session 2 for general information about growing wheat.)
Round up
Recap the learning by questioning the children:
- What is wheat?
- What other cereal crops can you name?
- How long does wheat take to grow?
- What happens in each season in the wheat growing year?
If the UK wheat production sheets have been completed:
- Which places in the UK grow the most wheat?
- Can you explain why wheat grows well in certain areas of the UK?
Extension ideas
Find out how another cereal crop is processed, e.g. oats or maize.
Activity 2 - Where does flour come from?
Introduction
This activity is about the stages involved in producing different flours and explain how flour is used to make different foods.
Show an ear of wheat or image of an ear of wheat (from the Cereal images). Recap how wheat is grown (Activity session 1).
Ask the children if they can explain what happens to the wheat after it is harvested. Explain that it is taken to be milled and turned into flour.
Use The milling process presentation to recap how wheat becomes flour and how different types of flour are produced.

Ask the children what can be made from flour. Show some examples of recipes that use flour, e.g. bread, scones, flatbreads, biscuits, pancakes.
Activity ideas
- Provide the children with samples of different types of flour, e.g. white, brown, wholemeal, seeded, cornflower. Task them to look, feel and describe the different types of flour. They can then record their observations with drawings and notes. Task the children to research foods made from each type of flour.
- Challenge the children to create their own flow diagram to explain how wheat is milled.
Round up
Recap the learning by questioning the children:
- What are the key steps in how wheat is made into flour?
- How are white, brown and wholemeal flour created?
- What can we make using different types of flour?
Extension ideas
- Invite a miller in to talk about the milling process.
Cereals resources for 7-11 years
Cereals for 11-14 years
Activities and resources about grains, baking bread and grain science for pupils aged 11-14 years can be found here.
Activity 1 - What are cereals?
Objectives:
- Identify different types of grain, where they are grown and their main uses.
- Describe the steps used in processing wheat grain to flour, oats and barley into end products.
- Explain the steps used in the production of bread and cereal-based foods from farm to fork, including food assurance schemes.
Resources
- The grain chain game presentation (types of grain, grown and uses)
- Samples: ear of wheat, grains, flour and bread.
- The grain chain presentation
- The grain chain worksheet
- The grain chain cards
- Oat farming and processing presentation
- Barley farming and processing presentation
- Wheat farming video
- Wheat into flour video
- Bread making process video
- Bread making (at school)

Introduction
- How many different types of grain can the pupils name? Quiz pupils on the names and uses of different grains. Use the grain game presentation to support – ask pupils to vote on the grains and suggest foods that are made from different grains. You may wish to arrange a display of different grains to be set out.
- Cereals form part of a healthy, varied diet and are in the starchy food group in The Eatwell Guide. What nutrients do cereals provide? (carbohydrate, fibre, vitamins and minerals)
Activity ideas
- Explore the ‘grain chain’ with the pupils. What steps to they think are involved? If possible, use props to engage pupils – look at an ear of wheat, focus on the grains. Where is the flour? How can the flour be extracted from the grains? How is the flour made into bread?
- Use the grain chain presentation to examine all the steps involved. Pupils can use the the grain chain worksheet to answer questions as you go through the presentation.
- Bring the ‘chain’ to life – use the three videos (see above) to show the grain chain in action.
- Ask pupils to place the the grain chain cards into the correct order. Ask them to list different foods that could be made from the grain.
- Show the Bread making video (at school) so that pupils are reminded of the main stages involved.
- Make bread, scones or savoury muffins, demonstrating the versatility of flour. Check out recipes on Food - a fact of life.
- Find out more about the Red Tractor logo. Collect packaging that displays the logo for products made from cereal-based foods.
Round up
Recap the learning by questioning the pupils:
- What are the main stages of the grain chain?
- Name three different cereals. Wheat, oats and barley.
- What foods can be made with each of these cereals?
- What is made from wheat?
- List the stages involved in making bread.
Extension ideas
- Cook a variety of dishes using different cereals.
- Create a display showing the grain chain. Allocate different steps in the chain to small groups of pupils.
- Focus on the contribution made by cereals to healthy eating.
What are cereals? resources
Activity 2 - Baking bread
Objectives
- Apply the principles of food safety and hygiene when cooking.
- Demonstrate a range of skills to prepare and cook a variety of dishes that demonstrate different uses of flour and other grains.
- Apply the principles of healthy eating when preparing and making dishes.
- Use sensory evaluation techniques to evaluate and modify dishes.
Resources
- Ingredients for demonstration set out on a tray; Strong bread flour, salt, quick acting yeast (or alternative) warm water, milk for glazing.
- Variety of toppings, e.g. seeds, nuts, dried fruit, grated cheese, chopped fresh herbs .
- Science of baking information sheet
- Bread making recording sheet for each pupil. Making bread – the facts: teacher answer sheet.
- Recipe for bread rolls/small loaf.

Introduction
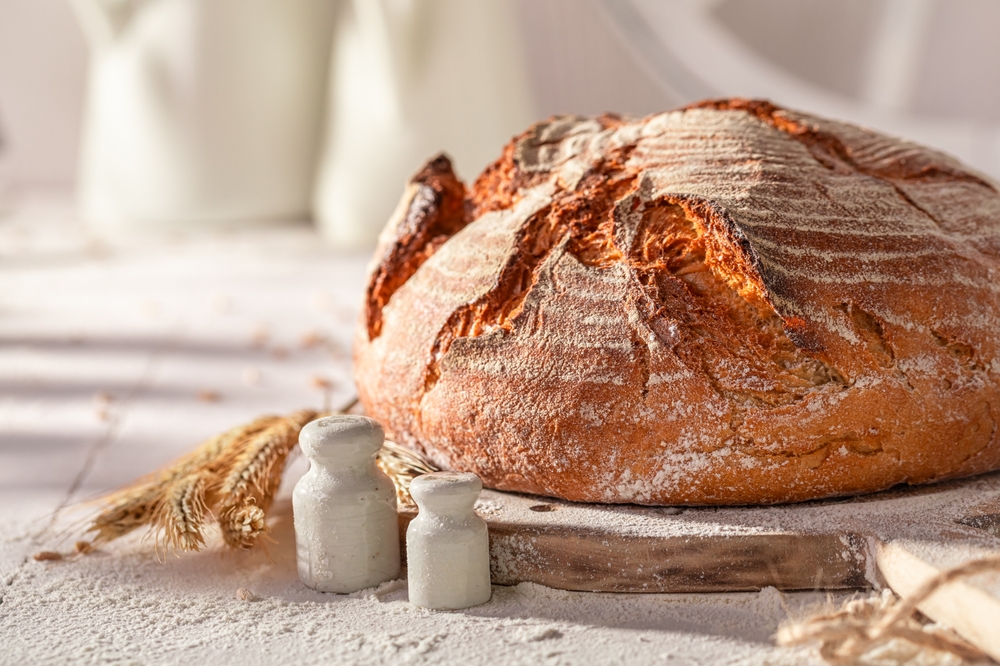
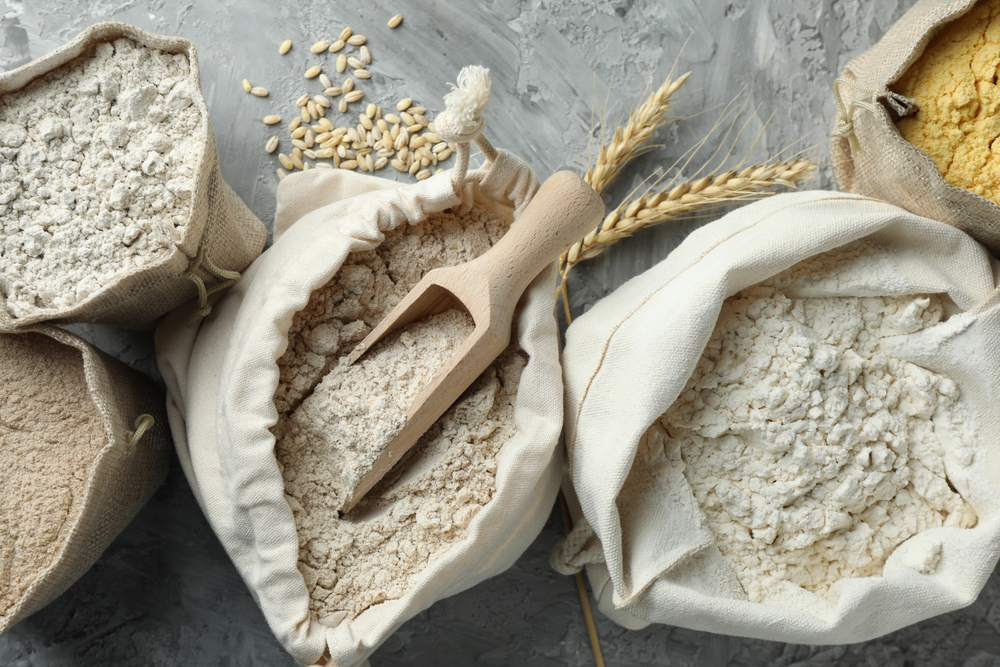
How many different types of flour can the pupils name? Have some examples or images available and discuss the different types for different uses. For example, we use strong flour to make bread because:
- Strong flour gives a good volume and light texture to bread;
- Strong flour has a higher gluten content;
- The proteins are called gliadin and glutenin;
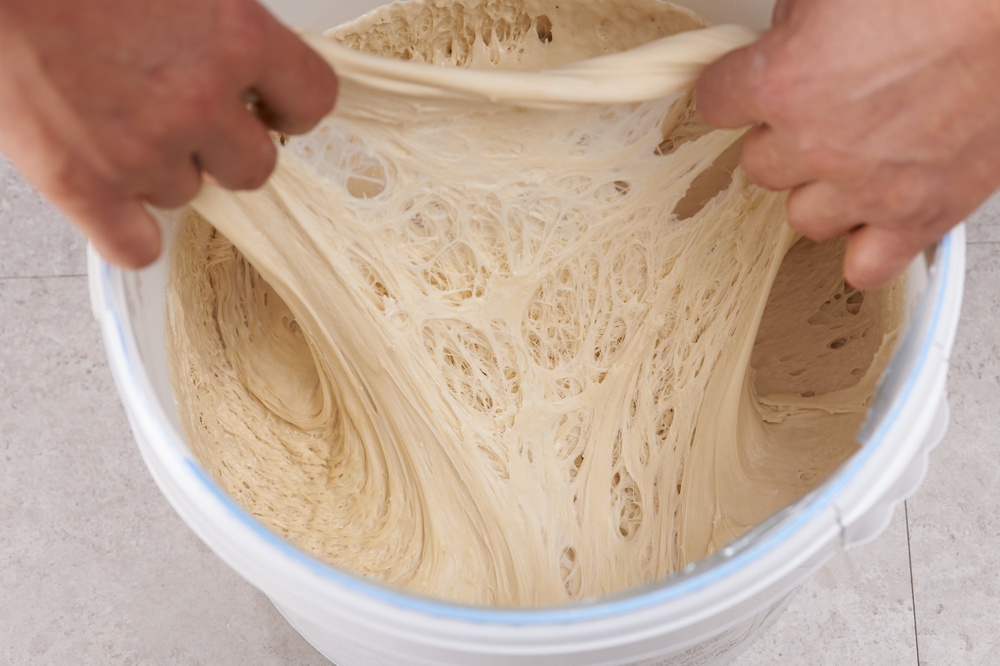
- When water is added to the flour the proteins combine and make gluten;
- Gluten is a soft stretchy substance that traps the bubbles of carbon dioxide produced by yeast as it ferments allowing them to expand and rise;
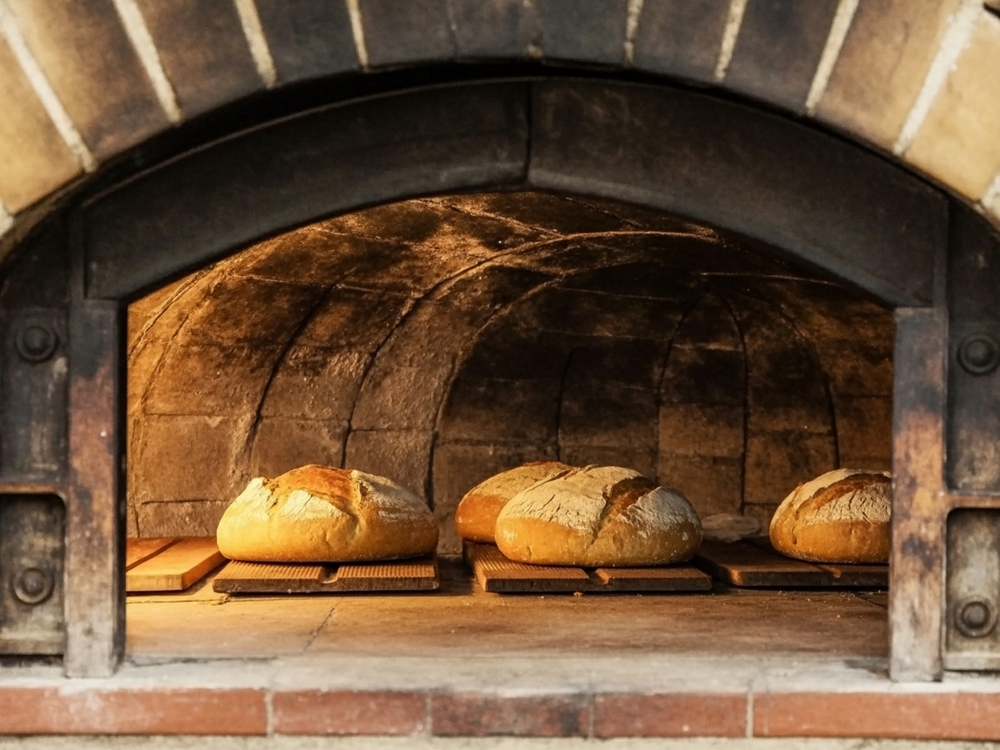
- The heat of the oven stops the fermentation process and gelatinises the starch in the dough, ‘setting’ the bread;
- Wholemeal flours produce bread with a closer texture and smaller volume because the bran and wheatgerm weaken the gluten;
- To help lighten the texture use a mix of white and wholemeal flour.
You may wish to have some examples of pre-washed gluten balls so the pupils can see the gluten strands (see gluten content investigation for information on how to do this).
Compare the structure of bread dough made with strong flour and soft flour (take close up images of the crumb or use a visualiser).
Activity ideas
- Show the pupils different types of yeast and discuss the conditions needed for multiplication and successful production of carbon dioxide. If time allows carry out an experiment to investigate the fermentation action of yeast.
- Give each pupil the Bread making recording sheet to record information during your demonstration. Explain to the pupils that you are going to demonstrate how to make yeast dough and then to shape, finish and bake bread rolls.
- Demonstrate the bread making method, explaining the reasons why the ingredients are used and each step of the process. You may wish to have a pre-prepared and risen dough to show the pupils. Discuss a variety of toppings that could be used to add flavor and/or texture to the rolls.
- Challenge the pupils to make a batch of bread rolls using different types of flours. Pupils could work in pairs. Ensure that good food hygiene and safety is followed at all times. They could finish the rolls using topping ingredients to add extra flavour and/or texture.
- Compare the finished products: consider the different flour that was used. Question the pupils about the appearance, colour, texture and flavor of the baked rolls.
- Ask pupils to undertake sensory evaluation on the different breads that have been cooked. Challenge pupils to use a wide range of sensory vocabulary. Pupils could use the Sensory Evaluation worksheet.
Round up
Recap the learning with the pupils:
- Sequencing – can the pupils place the bread roll recipe method in the correct order?
Question the pupils:
- What are the conditions needed for the yeast?
- Why does wholemeal flour need more water than white flour to make a soft, stretchy dough?
- What would happen if very hot water was added to the yeast?
- Can you explain what is happening when the dough is rising?
- How could you modify the recipe?
- What dishes could be made from using a basic bread dough?
Use the Guess the words activity to test pupil’s knowledge.
Extension ideas
- Review a range of rolls that are available to buy. Consider the variety of flour and other grains that are used in the manufacture and the effect on the texture and flavour of the rolls.
- Compare the cost of the (same type) of rolls that are purchased, homemade or made using a bread mix.
- Ask pupils to gather images of different types of bread from around the world for homework. The images should be annotated with name, country and any special ingredients used.
- Find out more about gluten free flour. How can it be used to make successful yeast dough for rolls and bread?
- Investigate ‘ready to bake’ rolls and bread products. How are they made? Try making a ‘ready to bake’ batch to freeze.
- Watch the Grain to loaf video showing the process used in commercial breading making. Discuss the differences and similarities to the domestic process. Follow up with the interactive activity Be the baker.
Baking bread resources
Activity 3 - Grain science
Objectives
- Investigate what happens to flour based dishes when dry heat is applied (dextrinisation).
- Explore the science of bread making (yeast and gluten formation).
- Investigate the use of flour in thickening, e.g. sauce making (gelatinisation).
Resources
- Bread slices, toaster/grill.
- The Science of Bread making PowerPoint
- Bread Science worksheet
- Bread making ingredients, equipment and recipe
- Tuna and broccoli bake recipe and video
- Gelatinisation experiment sheet (and ingredients: flour, hard fat)

Introduction
- Explain to the pupils that flour has a number of special characteristics when it is cooked. For example, ask pupils what happens to bread when it is toasted. What changes do they notice? (You may wish to toast some bread to demonstrate the change.) Where else have they seen this colour change? For example, the crust of bread, pastry and cakes. This is colour and texture change is called dextrinisation.
- What other characteristics can the pupils name? The formation of gluten (a protein in flour) during bread making and flour being used to thicken a sauce.
Activity ideas
- Go through the science of bread making with the pupils. If possible, arrange a practical cooking session so that pupils can see the changes at first hand. Alternatively, use The Science of Bread making PowerPoint presentation. You may wish to use the presentation in the practical session.
- Ask pupils to keep a record of the scientific principles involved – use the Bread Science worksheet. You may wish to ask pupils to record this type of information when cooking other dishes too.
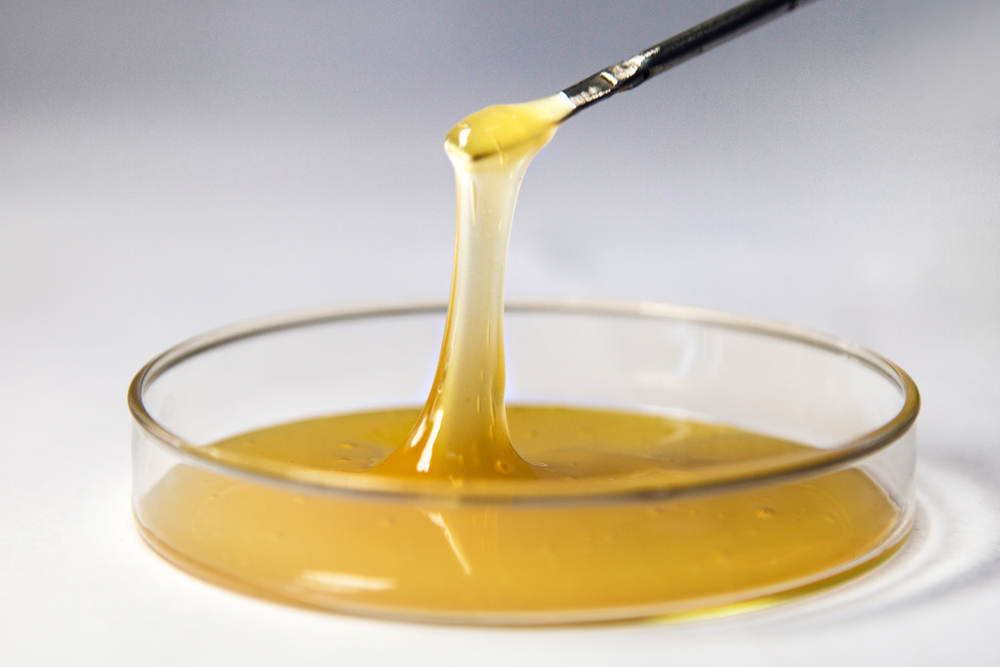
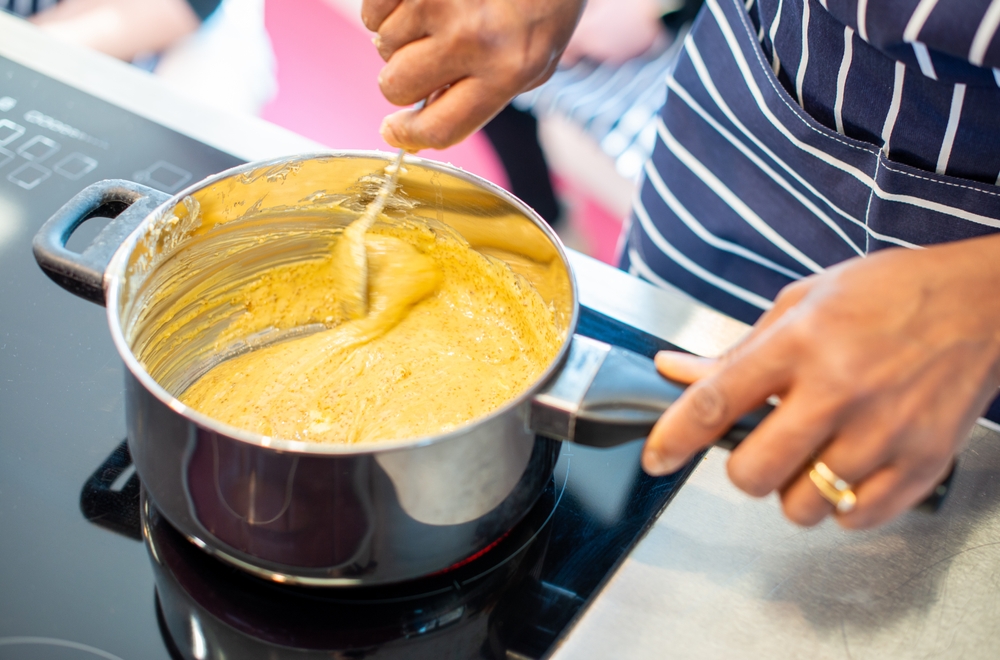
- Explain to pupils that flour can also be used to thicken a sauce – the process is known as gelatinisation. (On heating, the starch granules in the flour swell, rupture and release starch which absorbs the liquid causing the mixture to gelatinise.) Ask pupils to name a range of dishes that use a sauce which is thickened with flour, e.g. cheese sauce, macaroni cheese. Why would ‘thickening’ be a useful function when cooking a dish?
- To bring gelatinisation to life, allow pupils to cook a dish – such as a Tuna and broccoli bake, which uses flour to thicken the cheese sauce. A recipe sheet and video is available.
- Alternatively, set up an experiment to show how the amount of flour affects the thickness of the sauce. Ask pupils to work in small groups to make three different sauces. Use the Gelatinisation experiment sheet to help.
Round up
Recap the learning by questioning the pupils:
- What is the name given to toast or the crust of bread turning brown in heat? Dextrinisation
- Name the basic ingredients used to make bread. Flour, yeast, salt, fat and water.
- What is the name of the important protein in wheat flour? Gluten
- What gas does yeast produce when bread is being cooked? Carbon dioxide
- Name the different scientific principles used during bread making.
- What is the scientific name for thickening with flour? Gelatinisation.
Extension ideas
- Use different types of flour to make a soft, stretchy dough. Examine the characteristics of each noting the differences in the pliability and ‘stretchiness’ of the dough.
- Challenge the pupils to create a story board showing how bread is made. Include information of the type of flour, gluten production and the conditions needed for yeast to grow.
- Make a batch of scones using a variety of different types of flour. Carry out a sensory evaluation of the scones and evaluate the results.
- Investigate why white flour is fortified in the UK.
Grain science resources
Cereals for 14-16 years